Front steps and side passages
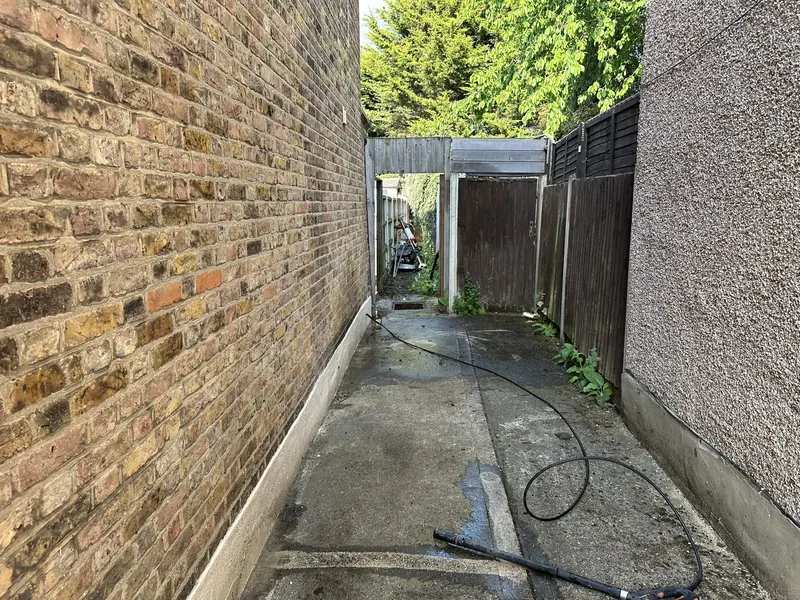
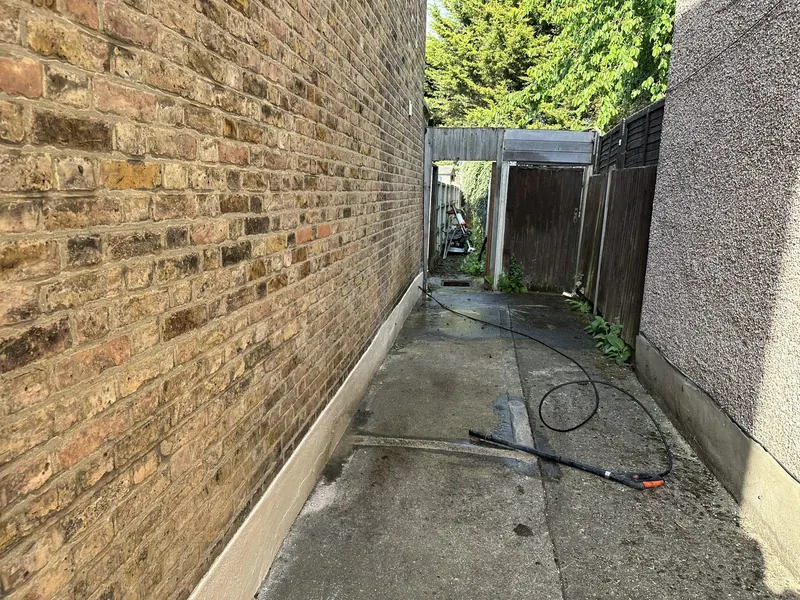
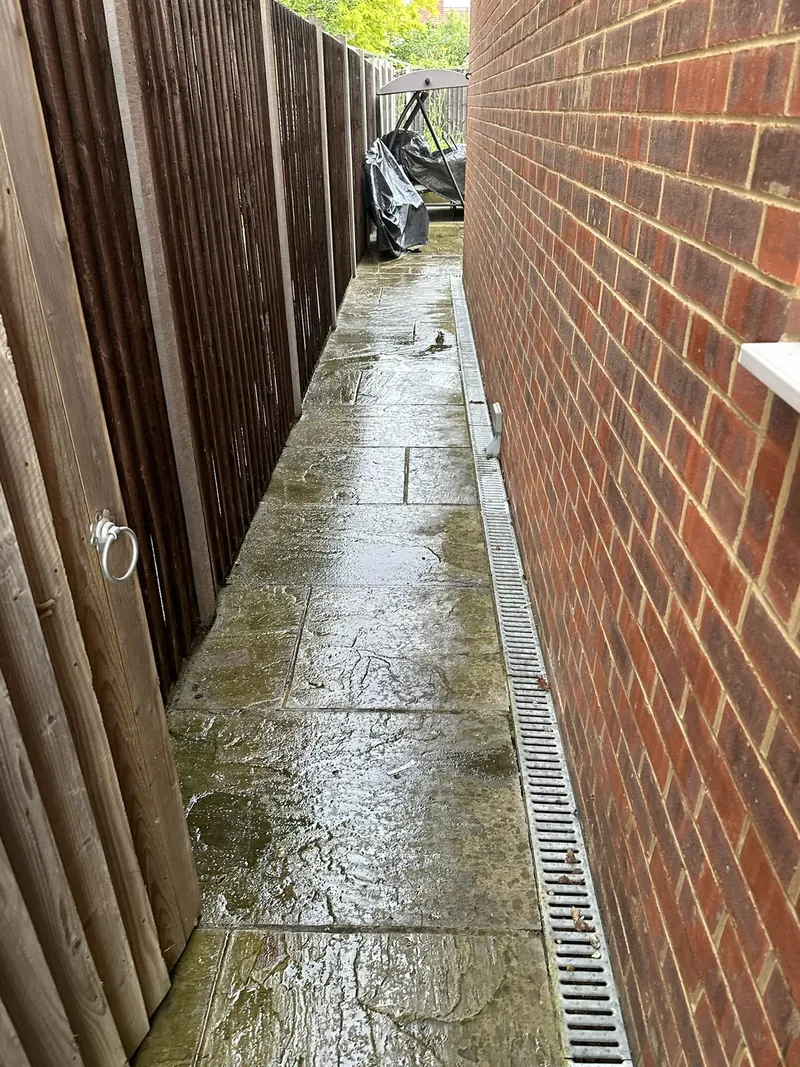
Give each step an identifier on a copy of the overview. A worn edge, low landing or change of direction can be hard to identify after the first photograph. Start with the part people use most and include a view looking back towards the frontage. If the work includes a side passage, show how it connects to the door or gate and whether a landing at either end belongs in the same job.
A change of material around a corner can affect how the brief is assessed. Photograph the narrowest part and show any gate that cannot open fully. When reviewing the estimate, check the sequence and the agreed stopping point. Explain any changes to the approach before the day of work.
Take a picture from the street looking into the approach and another from the top of the first step. The views show different parts of the work. From below, you can see the face and nosing. From above, you can see the landing and the next turn. If the approach continues beside the house, give the narrowest section a photograph of its own. A low threshold or a gate that projects into the passage can matter more than the overall length of the route.
Keep the working route distinct from the surfaces to wash. A front path can be the way to reach a side passage without belonging in the wash itself. Mark where each treatment begins, whether the landing is included, and the point beyond which you want to stop. Say where people can pass while a section is being worked on. Include any item that makes a turn narrower, and explain whether it can be moved. Check the written estimate for any separate treatment at the steps and for the order of work you need.
Use the pathway cleaning scope to describe steps and thresholds as separate surfaces. If two routes share the same access, mark the point at which they divide and explain which one must remain available.